Destroying CD-Rs and DVD-Rs at home
This article explains how to destroy the data on recordable CDs and DVDs using tools available to everyone at home. Please note that this article is for recordable discs only. Normal CDs and DVDs are made using different technologies.
Recordable Compact Discs
The layer responsible for holding data is located at the top of the disc, right below the disc label. The protective transparent layer at the bottom of the disc is thick, so it is wiser to destroy the disc from the top.
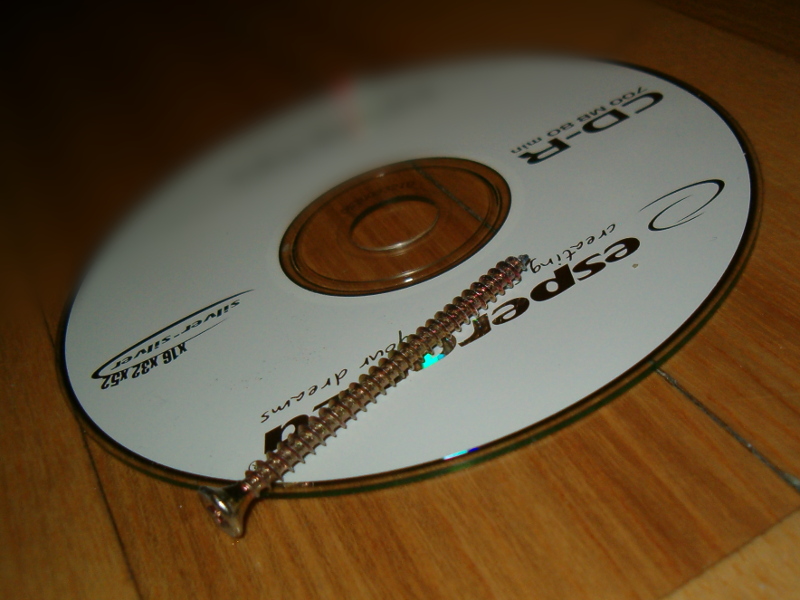
In order to destroy the disc, get something hard and pointy. A screw is just the thing. Look at figure 1 for an example.
Put the disc on a flat surface and hold it with one hand. Hold the screw in the other hand and use it to scrape the top layer off the disc using the pointy end.
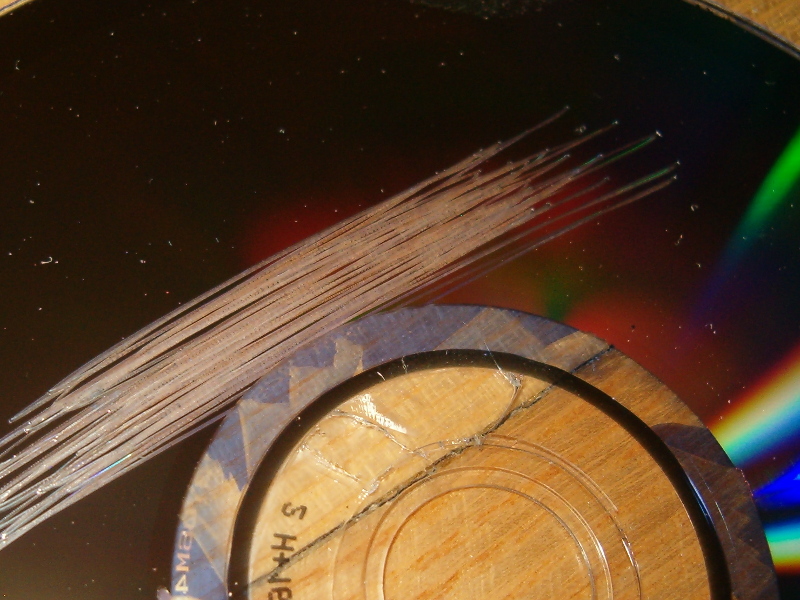
The result should be as shown in figure 2. It is advised to do it inside a platic bag or something similar, because the layer comes off in a lot of small pieces. They fly all over the place and easily stick to things. They are a pain to clean up.
Materials used by CD-R manufacturers are different. The layer comes off easier on some discs and is more resilient on others.
Recordable Digital Versatile Discs
The data layer of a DVD-R is located in the middle of the disc. The disc’s thickness is actually half of how much a CD has. DVD-Rs are composed of two discs merged together. One is the actual disc, the other is for protection.
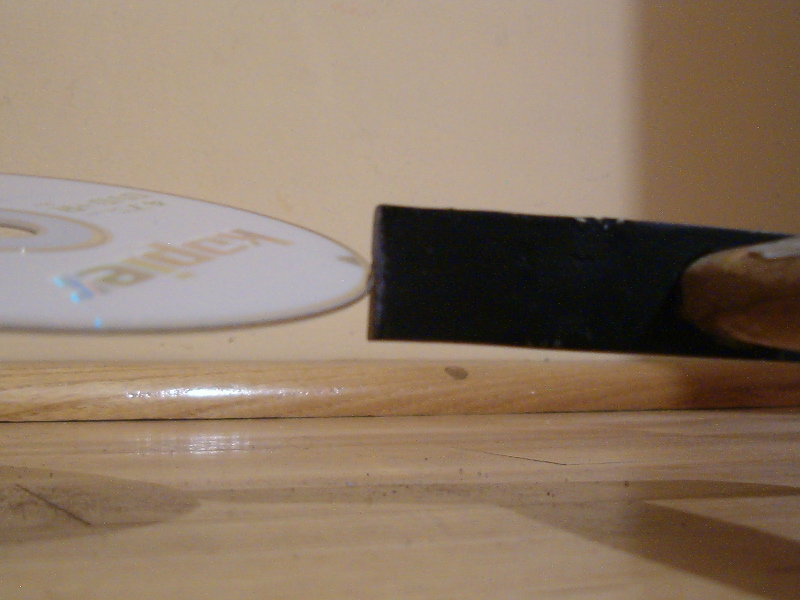
The first thing you need to do is to separate these two discs. In order to do this, get yourself a hammer. Simply hit the disc gently from the side as shown in figure 3. Don’t put too much power when hitting or else you may break it.
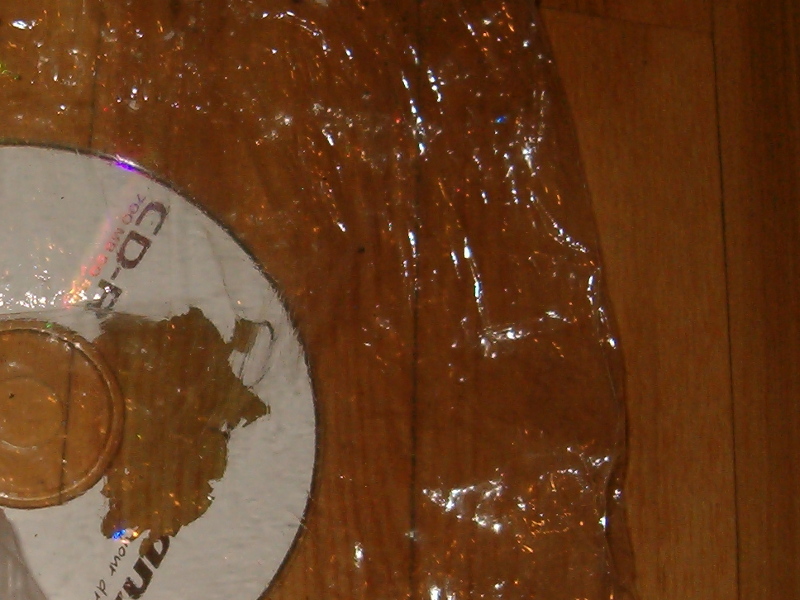
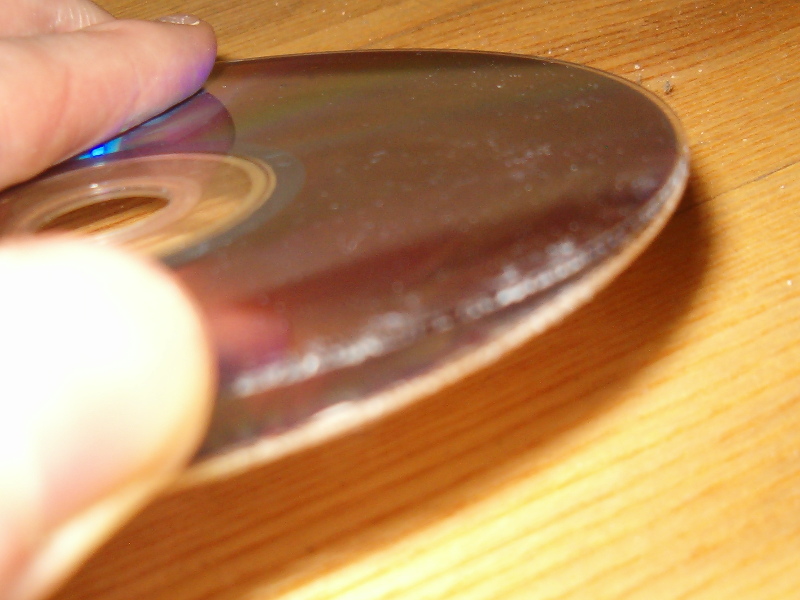
Hit it until you can see air within the disc as shown in figure 4. How much you need to hit vary by disc. The disc should make cracking sounds when bent a little. Leaving the disc covered in water for some time should help.
Eventually the disc structure will be damaged enough to separate the two layers with your own two hands as shown in figure 5.
Use a screw in the same way as when damaging a CD-R. This layer is more sturdy than on CD-Rs. This disc should look like in figure 6.